Hey guys, I'm Ben Fetters with Sovereign SP, and in today's video, we're going to be discussing the "Populate a Microsoft Word Template" action inside of Power Automate. This is an action I use all the time and I've been meaning to share it on YouTube for a while. Basically, this action allows us to take a Word template file, place it into a SharePoint library, connect it to our Power Automate flow, and populate it with data from SharePoint. We can then convert it into a PDF, and the final product will look something like this. If you're familiar with mail merge, this is the Power Automate version of it. We use it extensively in our company for various purposes such as invoices, progress reports, weekly reports, and approval processes. At the end of an approval process, we have a final PDF version with signatures, approval dates, and other necessary information. It's a fantastic tool with numerous use cases. Throughout this video, if you have any ideas for use cases or how you utilize this action, please share them in the comments. I would love to hear your thoughts. Now, let's dive into a simple and interesting scenario that showcases the capabilities of this action. The first thing we'll do is open a new Word document. We'll start with a blank document. Here are some helpful tips that I personally use to make this process easier. Firstly, I go to the "View" tab, or it might be the "Design Layout" tab, and click on "Narrow" in the "Margins" section. This provides us with more space. Next, I insert a table. Usually, I create a table with four or five rows. Once selected, I go to the "Layout" tab, and in the "Table Design" section, I choose "No Borders" under "Borders". This helps to align things...
Award-winning PDF software


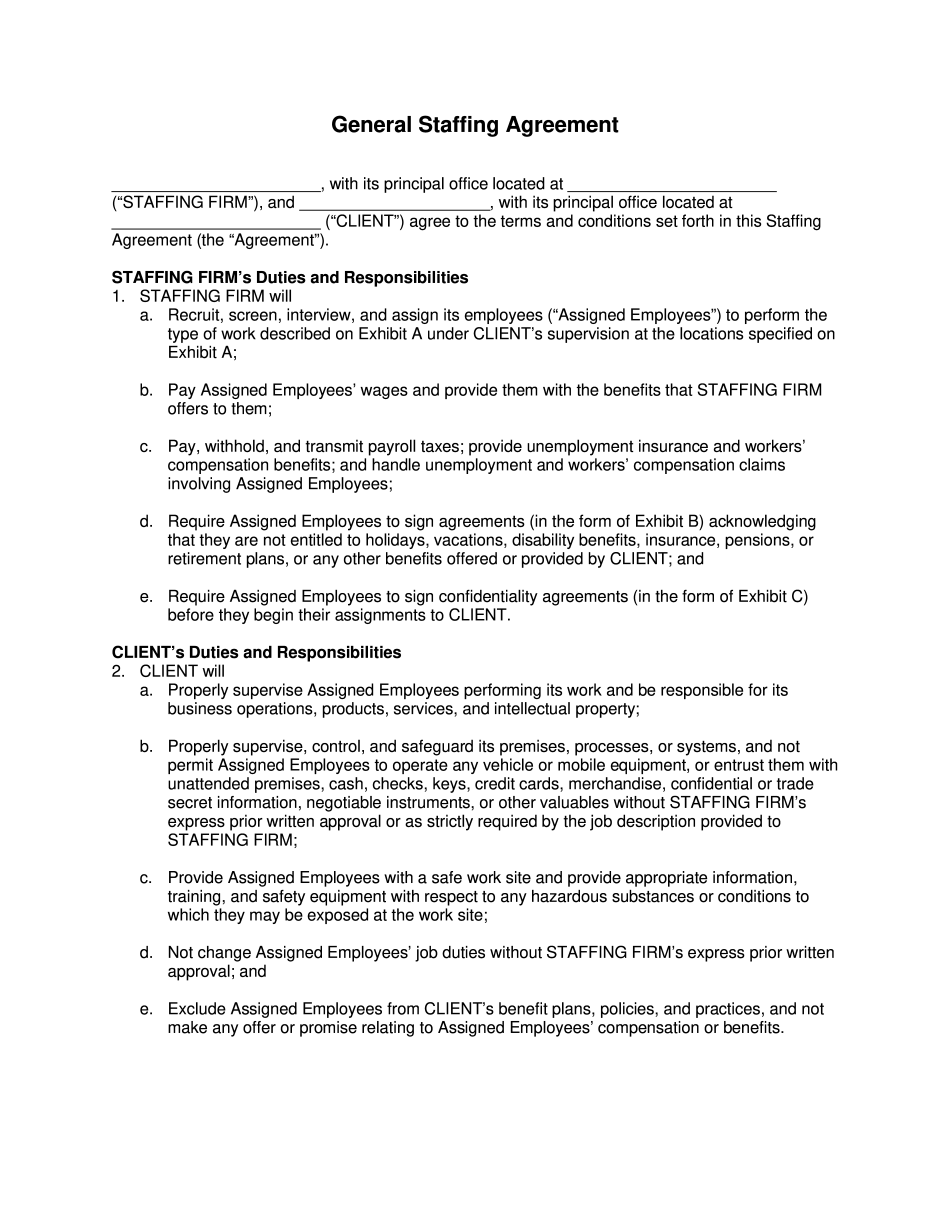
Online methods assist you to to organize your document management and raise the efficiency of your workflow. Adhere to the fast guide so that you can comprehensive Staffing agency Contract, keep away from mistakes and furnish it inside a timely fashion:
How to complete a Staffing agency Contract on-line:
- On the web site along with the type, click Commence Now and pass to the editor.
- Use the clues to complete the suitable fields.
- Include your personal information and get in touch with data.
- Make guaranteed which you enter appropriate information and numbers in ideal fields.
- Carefully look at the information belonging to the variety at the same time as grammar and spelling.
- Refer to help part should you have any doubts or handle our Support crew.
- Put an electronic signature on the Staffing agency Contract together with the help of Indicator Instrument.
- Once the form is finished, push Done.
- Distribute the completely ready type by way of e mail or fax, print it out or save on your own machine.
PDF editor permits you to definitely make adjustments on your Staffing agency Contract from any world-wide-web related device, customise it in line with your needs, indication it electronically and distribute in various methods.
Video instructions and help with filling out and completing Staffing agency Contract